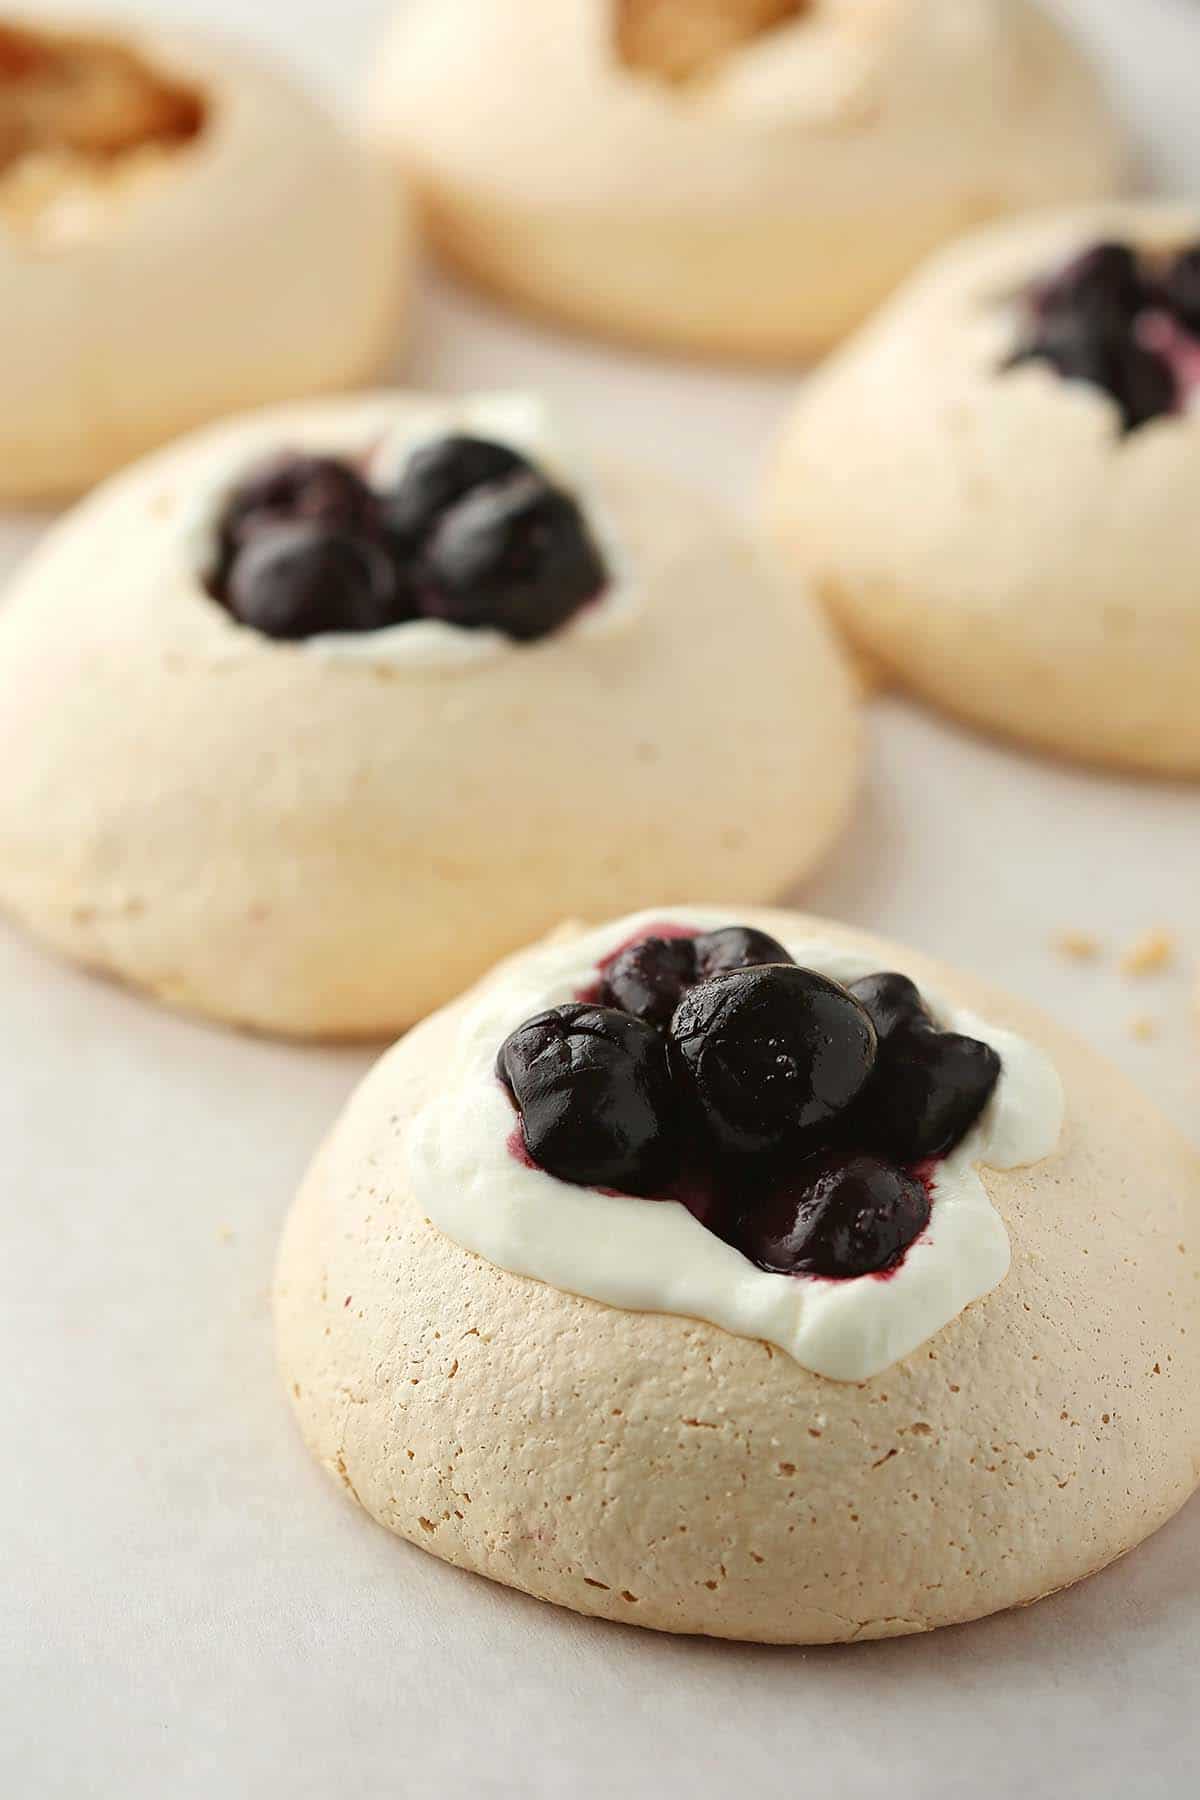
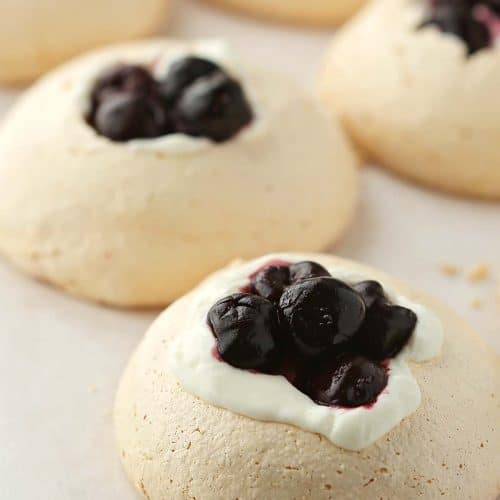
These mini pavlova nests are light and airy with a marshmallow-soft center. If you’re looking for an easy and impressive dessert to make, pavlova is a perfect choice. Add your favorite toppings and enjoy this meringue dessert with a cup of tea. The meringue nests have delicate and crispy texture, while the yogurt and fresh fruit add sweetness and flavor.
It requires only a few ingredients to make this easy pavlova recipe.
This is a naturally gluten-free dessert made without any flour.
Most meringue recipes use corn starch; here, we are using arrowroot starch made from arrowroot plants.
These mini Pavlova nests make a refreshing and light dessert that is perfect for summer entertaining or when hosting a dinner party.
They are easy to customize with seasonal fruits.
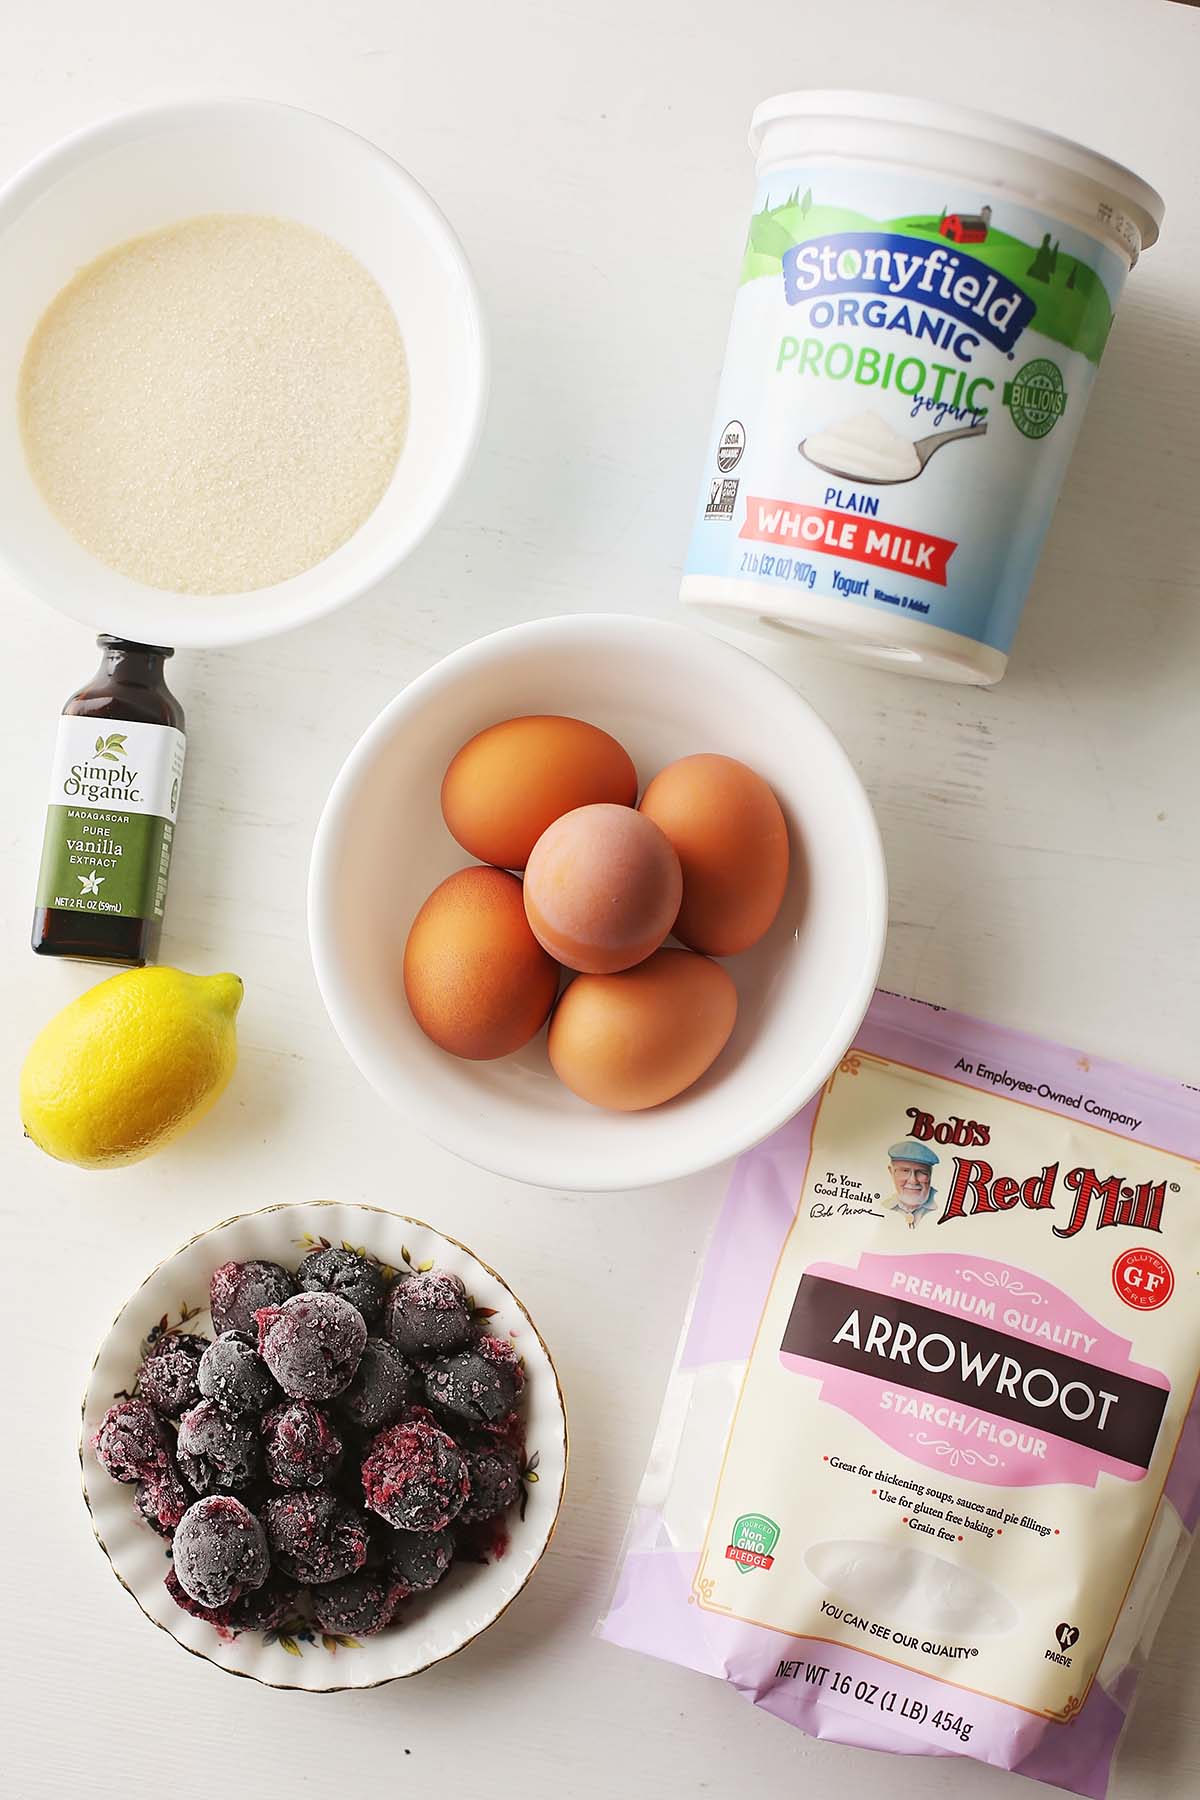
Key Ingredients
Ingredient Notes
Egg whites. Use large eggs if possible.
Organic cane sugar. I tried this recipe with natural sweeteners, even with coconut sugar, and the result wasn’t the same.
Arrowroot powder. It’s essential to use some starch when making these Pavlova nests; the arrowroot powder does the perfect job.
Yogurt or sweetened heavy whipping cream. If you want a sweeter version of the pavlova, use homemade whipped cream instead.
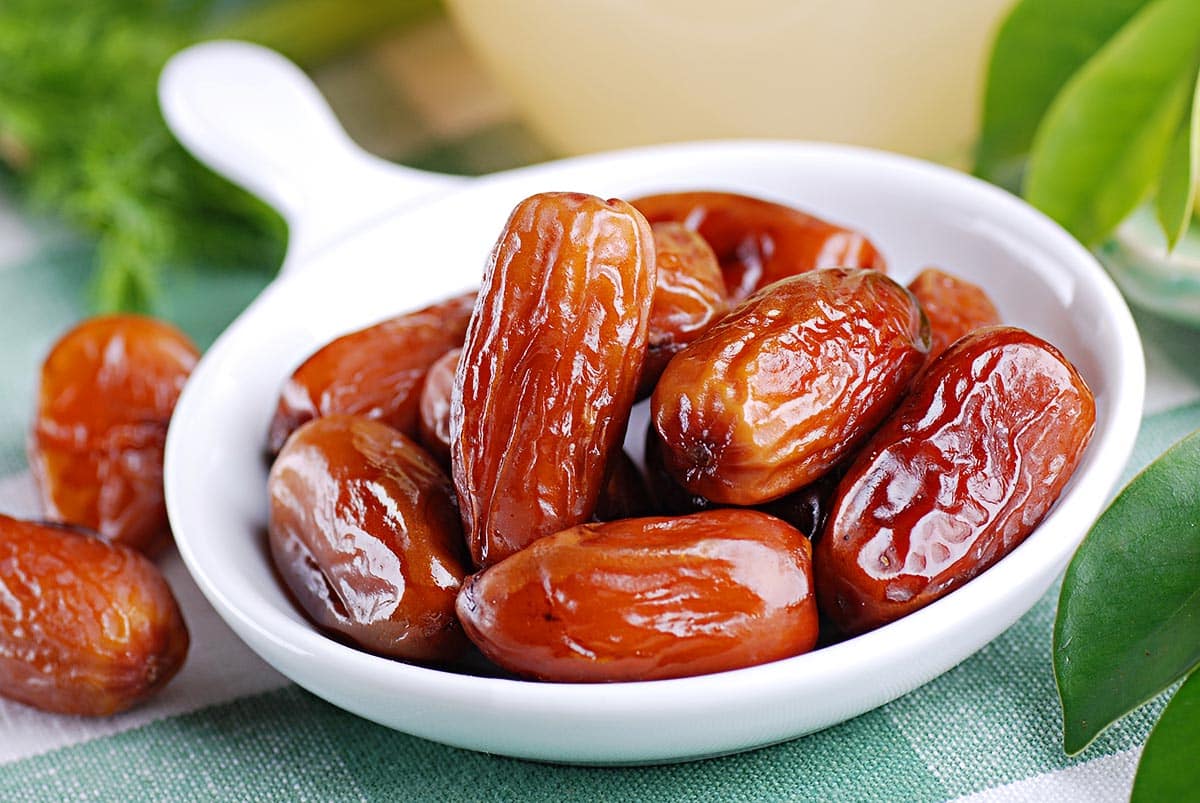
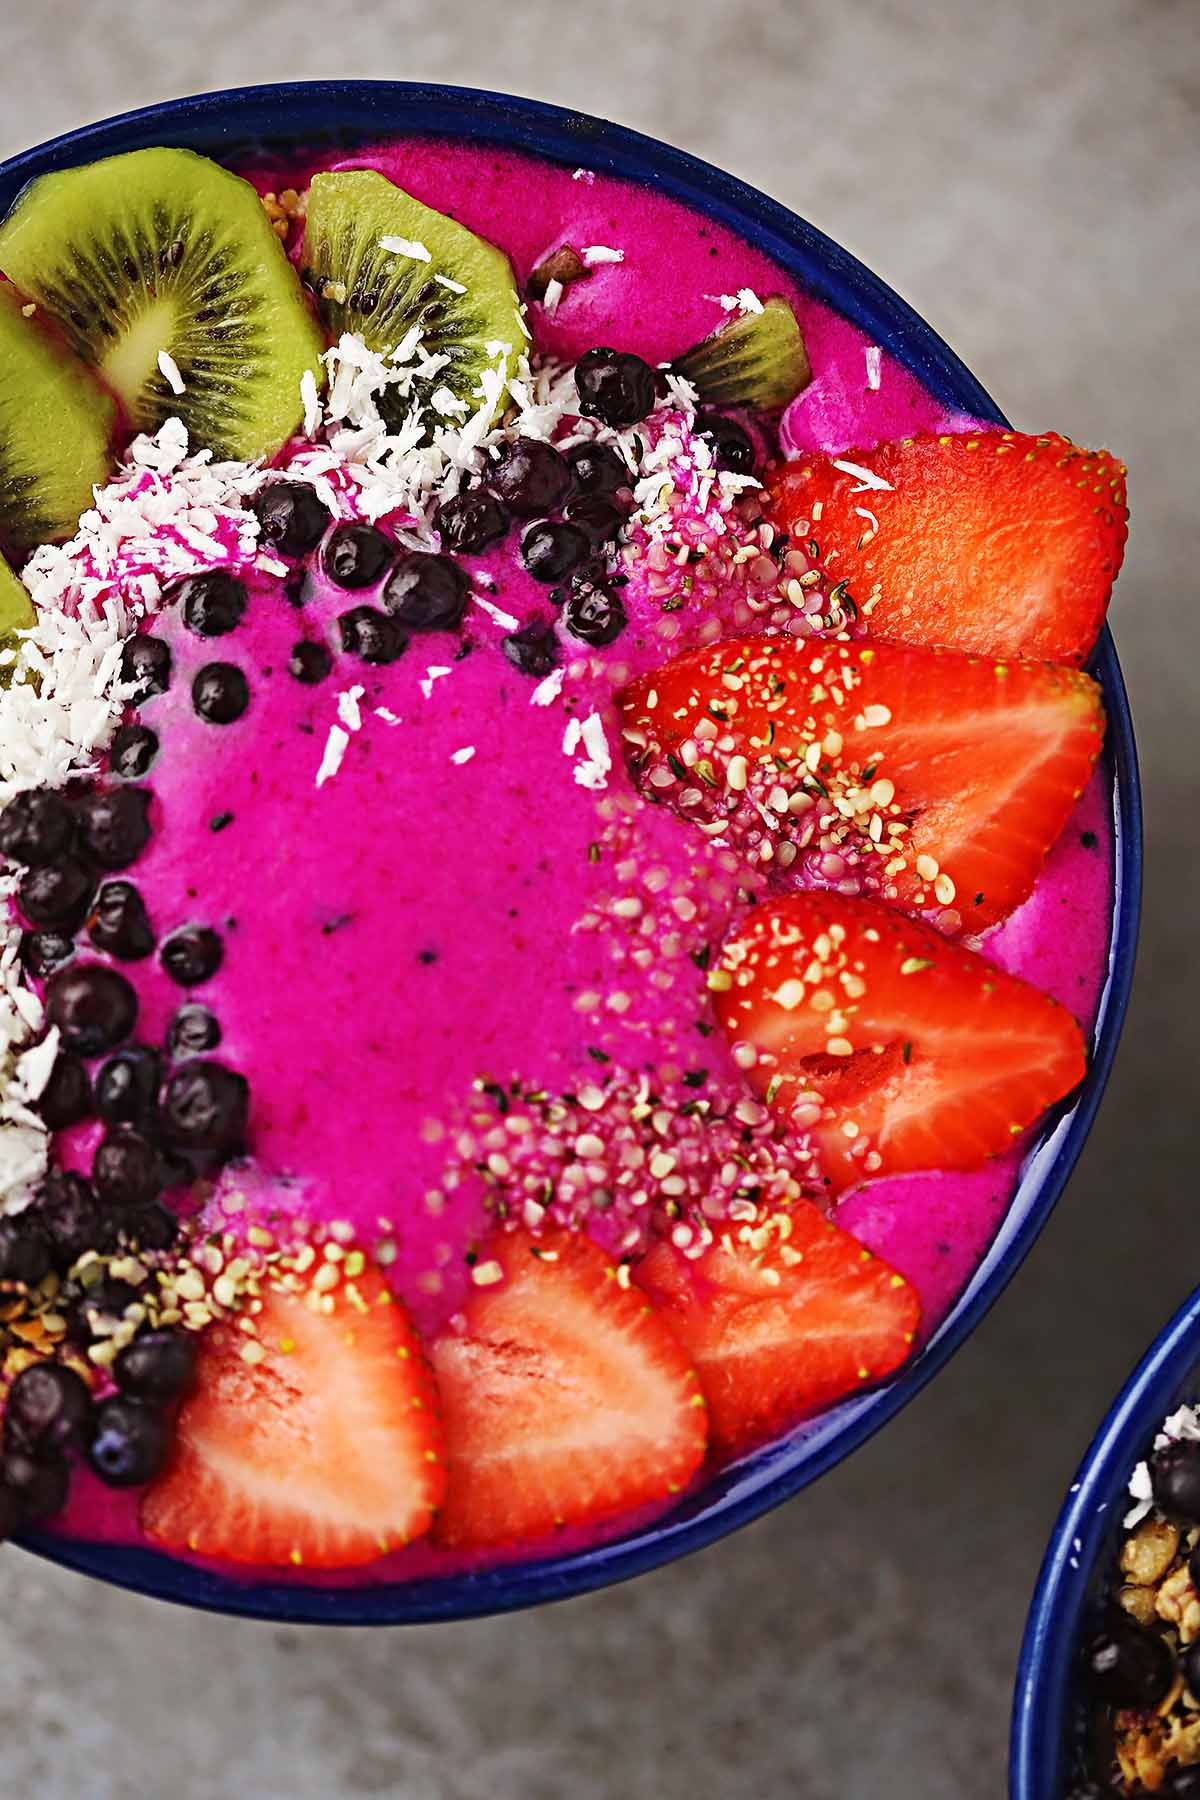
Fruits. Frozen or fresh berries will work. I made this recipe with fresh sliced strawberries, blueberries, and frozen cherries; it always tastes great.
Vanilla extract. If possible, use the real vanilla extract, not the vanilla essence.
How to Make Mini Pavlova Nests
Step 1. Gather the ingredients—Preheat the oven to 300F degrees.
Step 2. Using room-temperature eggs, separate the egg whites.
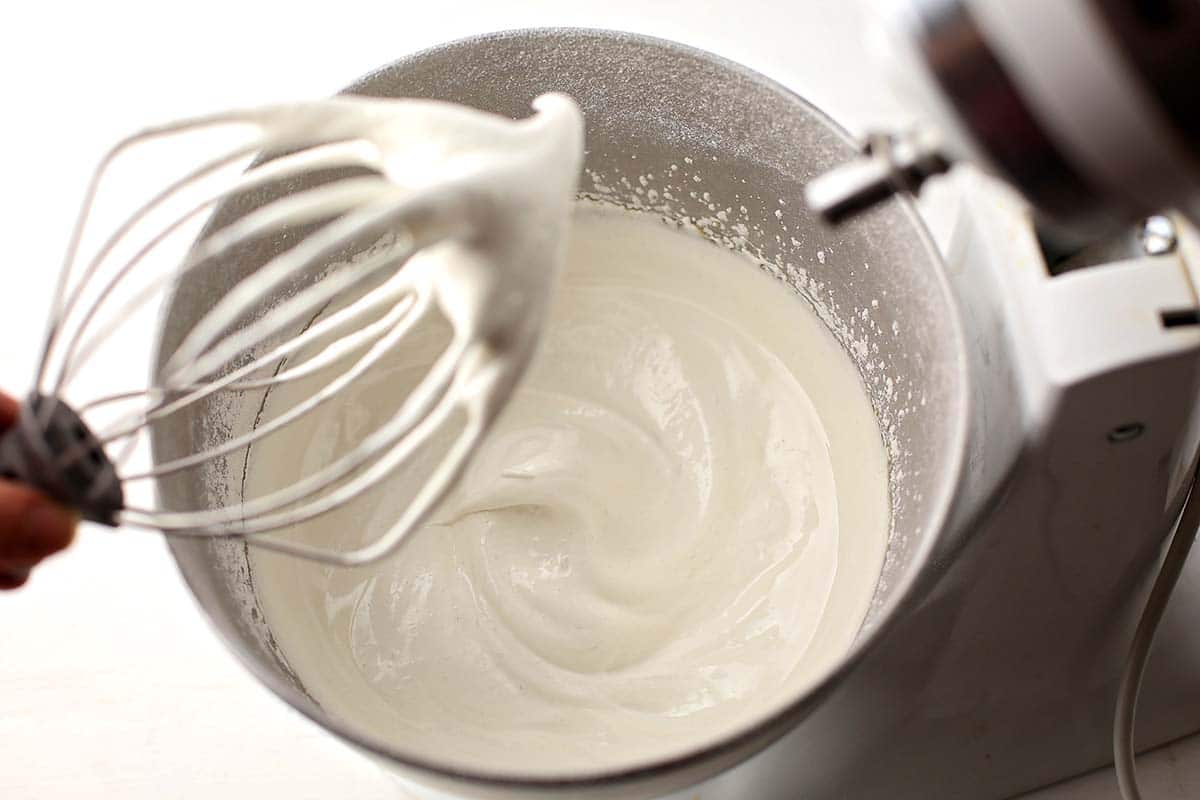
Step 3. Add the egg whites in a bowl of a stand mixer with the whisk attachment and start beating at high speed. Once the eggs start getting foamy, add vanilla and start gradually adding the sugar. Whisk till the mixture gets thick and the stiff peaks form. The pavlova mixture should have a glossy color and a slightly stretchy texture.
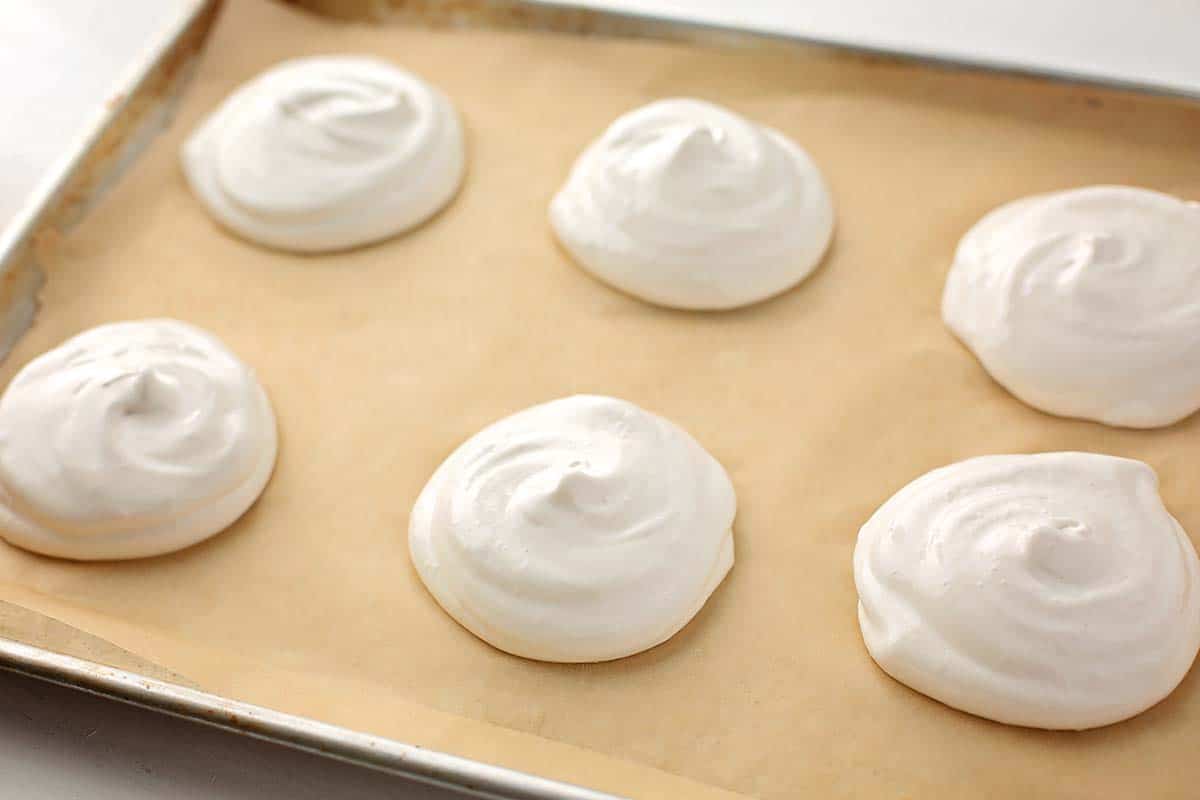
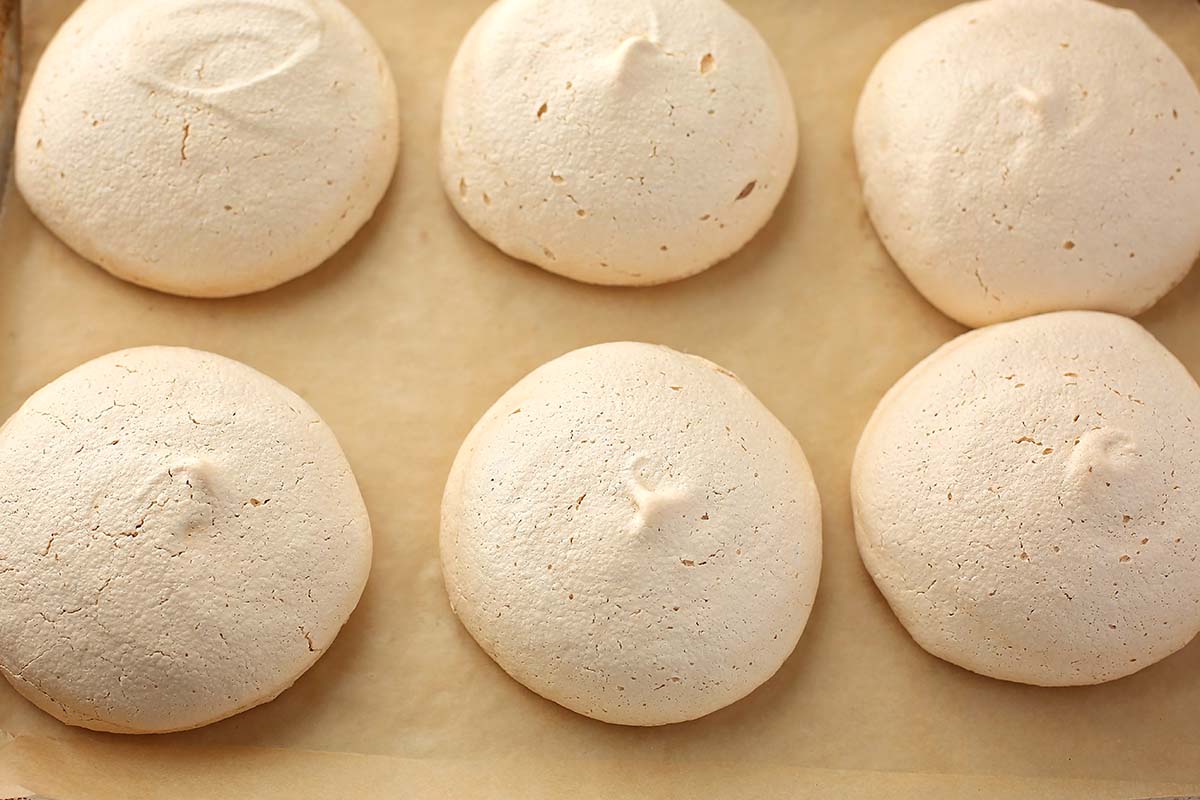
Step 4. Using a rubber spatula, form six meringue nests on top of the baking tray lined with parchment paper.
Step 5. Bake for 45 minutes till golden and the hard shells are formed. Once baked, turn the oven off, open the door, and let the pavlova nests cool completely for 15 minutes inside the oven.
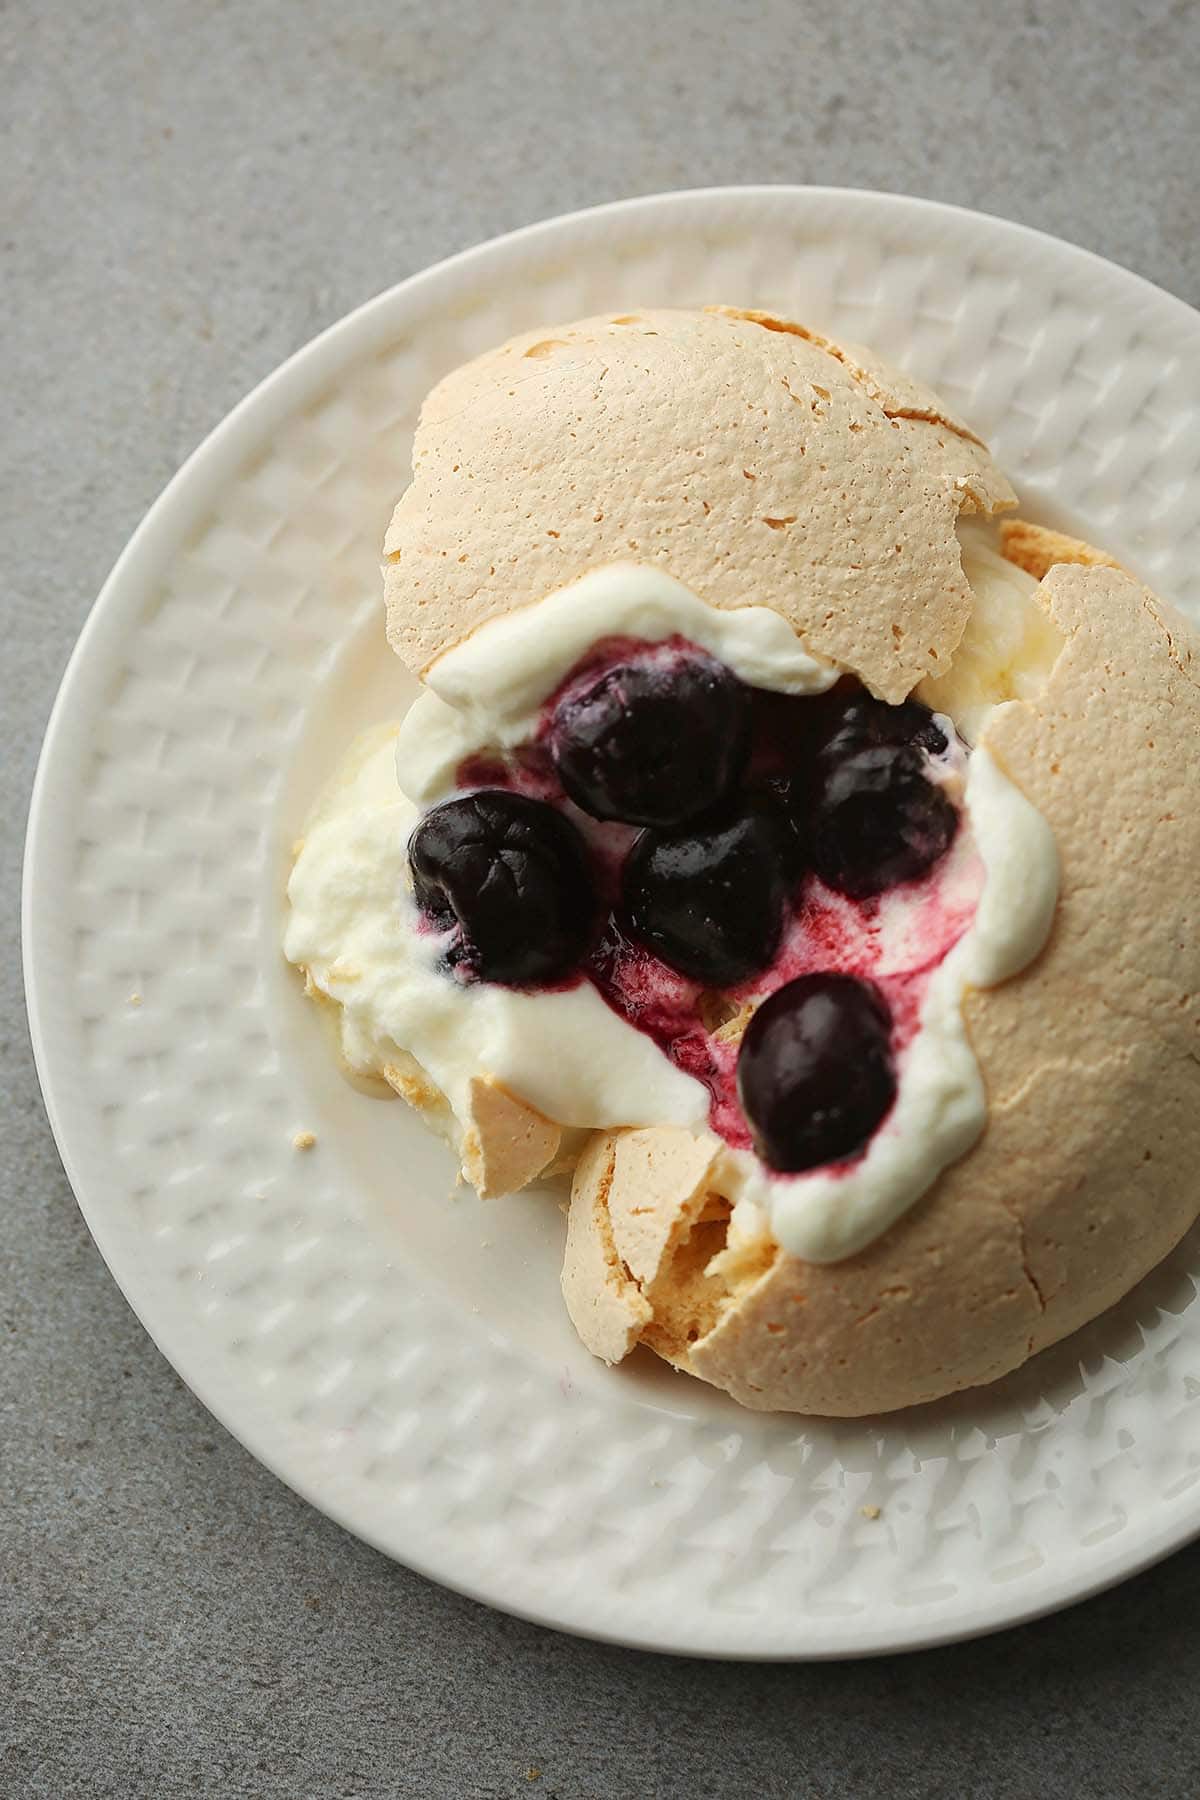
Step 6. Once cooled, remove mini pavlova nests from the oven, gently crack the top, fill with yogurt or sweetened whipped cream, and top with berries, serve.
Making Meringue Mixture Tips
To make this recipe a success and have crispy pavlova nests with a delicious marshmallow-like center every time, the following tips are essential. If you follow them all, the recipe will turn great every single time.
Start with clean, dry bowls and utensils. Any traces of grease will prevent the egg whites from whipping up properly.
Make sure your egg whites are at room temperature before you start whisking them. This will also help them to reach stiff peaks more quickly.
When separating egg whites, make sure there is no yolk in the whites.
Use only superfine sugar. I like to use a coffee grinder to make fine sugar.
Start adding sugar to the egg mixture only after the eggs started to get foamy.
When adding the sugar to the egg whites, do it gradually and keep whisking until all of the sugar has been incorporated. This will create a stable meringue that won’t deflate when you bake it.
Make sure your meringue has soft peaks and glossy texture. This is the most important factor in ensuring a successful pavlova recipe.
Be careful not to overmix the meringue mixture – mix just until the ingredients are combined.
Once your meringue is stiff and glossy, add any flavorings or extras (like freeze-dried fruit powder) and gently fold them in.
Baking Mini Meringue Nests Tips
Use parchment paper to line the baking sheet.
Space out the meringue nests on the baking sheet, so they don’t touch; they will be expanding.
Oven temp might vary. Keep an eye on the Pavlova nests while baking to make sure they won’t get burned.
Bake the pavlova nests at low temp until they are crisp and dry on the outside but still have a soft center.
Don’t open the oven door while cooking.
Make sure your Pavlova is cooked through before removing it from the oven – it should be crisp on the outside but still soft in the middle.
Allow the Pavlova to cool properly completely before adding the topping. It won’t take long, but it will help to hold the shape and keep them presentable. This will also help to prevent it from sinking.
When folding in the whipped cream, be gentle so as not to deflate the meringue too much.
Variations
Pavlova is a popular dessert in many parts of the world, and it’s no wonder why! This delightful treat has a crispy meringue base topped with fresh whipped cream and fruit. While the classic pavlova topping is strawberries, you can use any fruit you like.
You can even get creative with your toppings and try things like chocolate sauce, caramel sauce, or a citrus glaze. No matter what you are topping you choose, your pavlova is sure to be delicious!
How does pavlova taste like
Pavlova is a delicious dessert that tastes like a cross between a meringue and whipped cream. The outside is crisp, and the inside is fluffy and light.
how to store pavlova
Pavlova is best enjoyed the day it is made. Leftovers can be stored in an airtight container at room temperature for up to two days.
Be sure to keep the pavlova away from any strong-smelling foods, as it will absorb their odors. When ready to serve, re-whip the cream and spread it over the pavlova. Top with fresh fruit just before serving.
Mini pavlova Nests serving tips
When it comes to serving a pavlova, there are a few things to keep in mind. First, because pavlova is a delicate dessert, it’s important to be careful when slicing and serving it. A serrated knife works best for this.
Second, because pavlova is typically served topped with whipped cream and fruit or other toppings, be sure to add these before serving so they don’t get soggy.
Finally, pavlova is best served immediately after it’s made; if you need to make it ahead of time, store it in the fridge until ready to serve.
best fruit toppings to serve with pavlova nests
Pavlova is a delicious dessert that can be made with many different fruits. Some of the best fruits to serve with pavlova nests include strawberries, blueberries, raspberries, and blackberries.
These fruits are all acidic and complement the sweetness of the pavlova perfectly. For a more tropical twist, you could also try serving pavlova with mango, pineapple, or kiwi fruit.
This delicate dessert can also be topped with lemon curd or rhubarb curd.
Whichever fruit you choose, make sure to top it off with some whipped cream or ice cream for a truly decadent treat!
FREQUENTLY ASKED QUESTIONS
How do I know when pavlova is cooked?
The Pavlova will turn slightly gold, and the shell will be crispy with texture.
What about the oven temperature?
Different ovens bake the best at different temperatures. I had success baking these mini Pavlova at 300F degrees.
Can you store Pavlova?
Unfortunately, the Pavlova won’t look or taste the same when stored, and it’s best to enjoy it right away once cooled.
What is the origin of the pavlova dessert?
There are many stories about how the dish was created, but the most commonly accepted version is that it was created by a chef at a hotel in Wellington, New Zealand, who was inspired by Pavlova.
These mini pavlova nests are light and airy with a marshmallow-soft center. If you're looking for an easy and impressive dessert to make, pavlova is a perfect choice. Add your favorite toppings and enjoy this meringue dessert with a cup of tea.
Gather the ingredients – Preheat the oven to 300F degrees.
Separate the egg whites. In a bowl of a stand mixer, fitted with the whisk attachment, add the egg whites and start beating at high speed. Beat on medium-high speed for about 3 minutes. Once eggs start getting foamy, add vanilla and start gradually adding the sugar. Whisk till the mixture gets thick and the stiff peaks form. The meringue mixture should have a glossy color and be slightly stretchy.
Using a spatula form six meringue nests on top of the prepared baking sheet lined with parchment paper. Using the back of a spoon, spread meringue to form 3/4-inch-thick rounds, making an indentation in the center of each.
Bake for 45 minutes till gold, crispy and dry and the hard shell is formed. Once baked, turn the oven off, open the door and let it cool for 15 minutes inside the oven.
Once cooled, remove from the oven, gently crack the top of the meringue cookie and fill with yogurt. Top with berries, and serve.
Notes
Use only room temperature eggs.When separating egg whites, make sure there is no yolk in the whites.Use only fine sugar. I like to use a coffee grinder to make sugar fine.Don’t over-whisk the egg whites.Start adding sugar to the egg mixture only after eggs started to get foamy.Add sugar slowly and gradually.Use parchment paper to line the baking sheet.Space out the meringue on the baking sheet so they don’t touch; they will be expanding.Oven temperature might vary. Keep an eye on the Pavlova while baking to make sure it won’t get burned.Don’t open the oven door while cooking.Let them cool properly. It won’t take long, but it will help to hold the shape and keep them presentable.
Natalia is a recipe developer, food photographer, and home cook. She started Flavorful Home to document her recipes and share home cooking tips. She loves creating flavorful and nutritious meals while keeping the cooking process simple and joyful!
Get new recipes and tips via email when you subscribe!
Have a comment? I love hearing from you! Cancel reply
Your email address will not be published. Required fields are marked.
Welcome!
Hi there, I’m Natalia. I’m so glad you stopped by! Here you’ll find the most useful cooking tips and answers to food questions. I focus on creating simple recipes and making sure they are extra flavorful and worthy of your time! Browse our step-by-step recipes and explore new flavors!