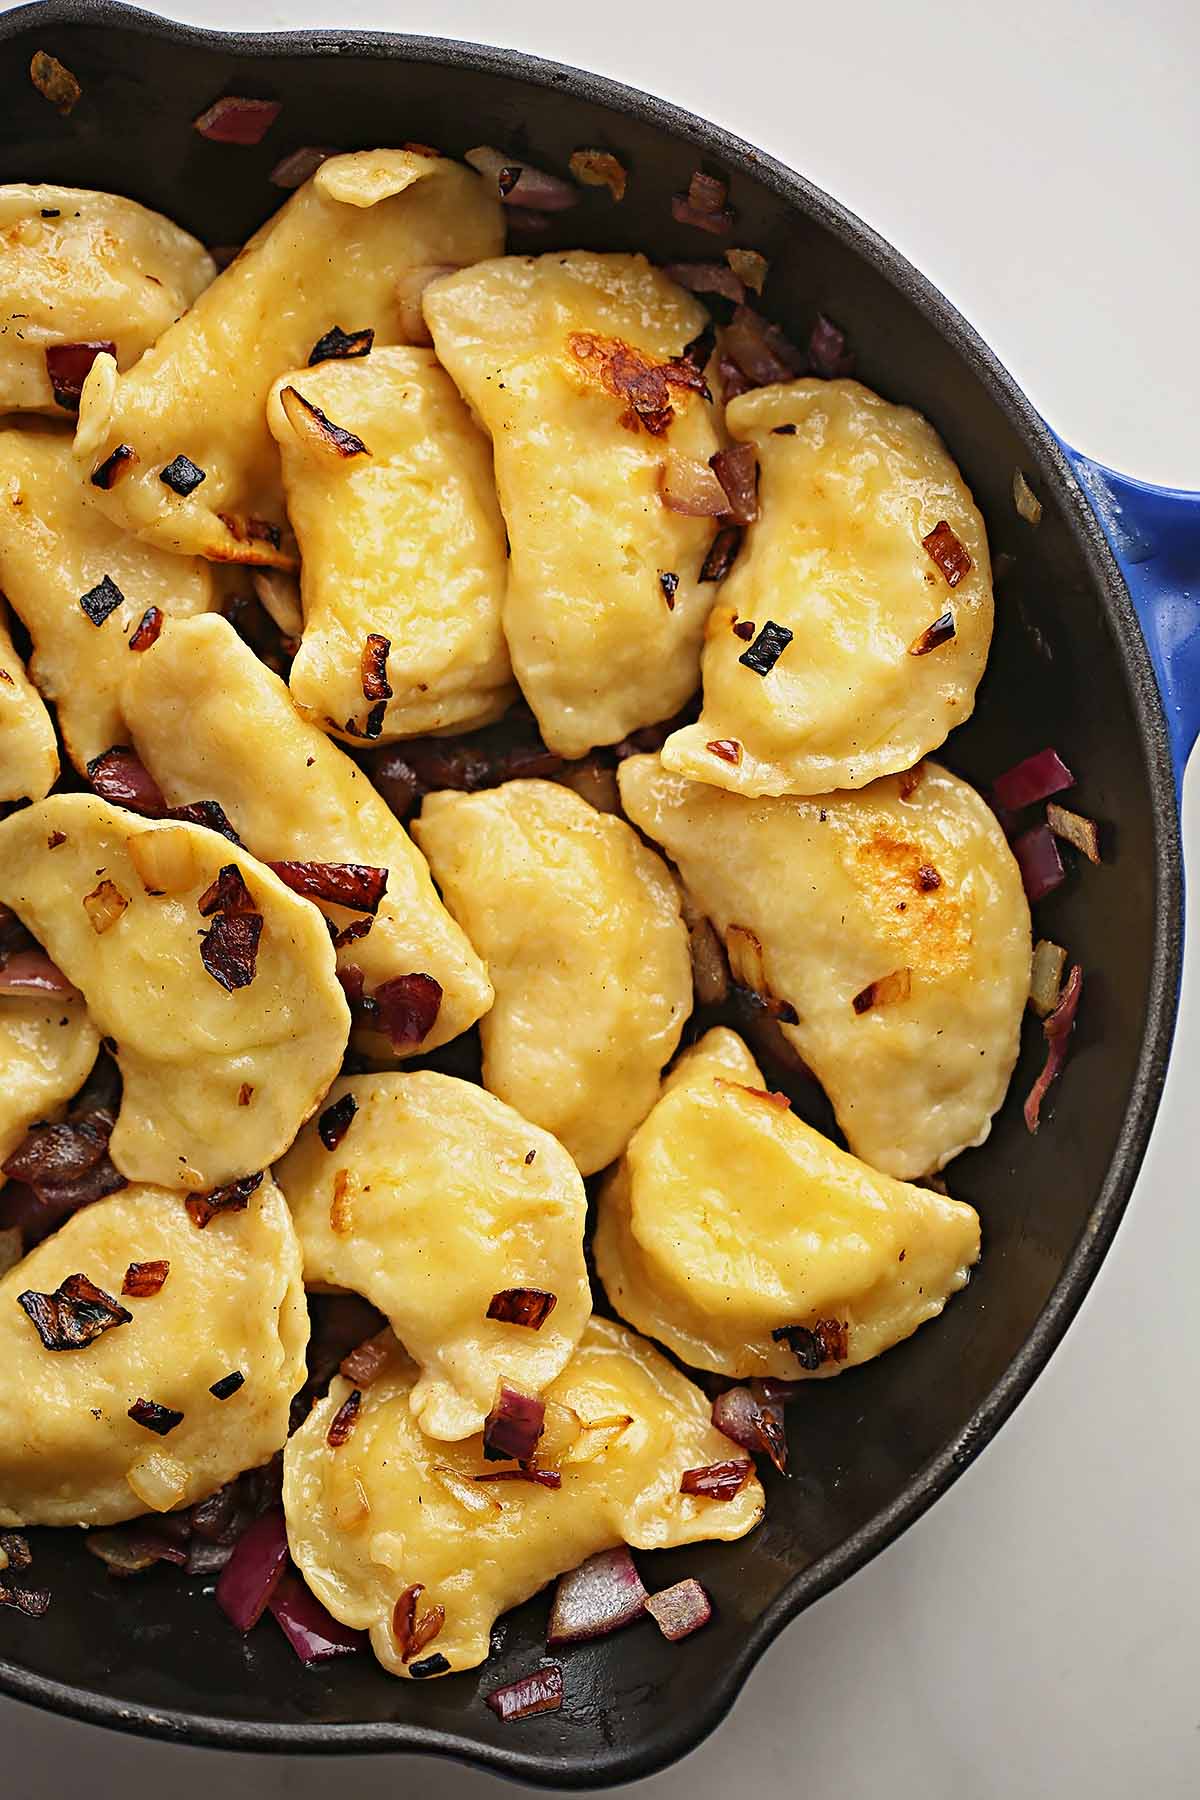
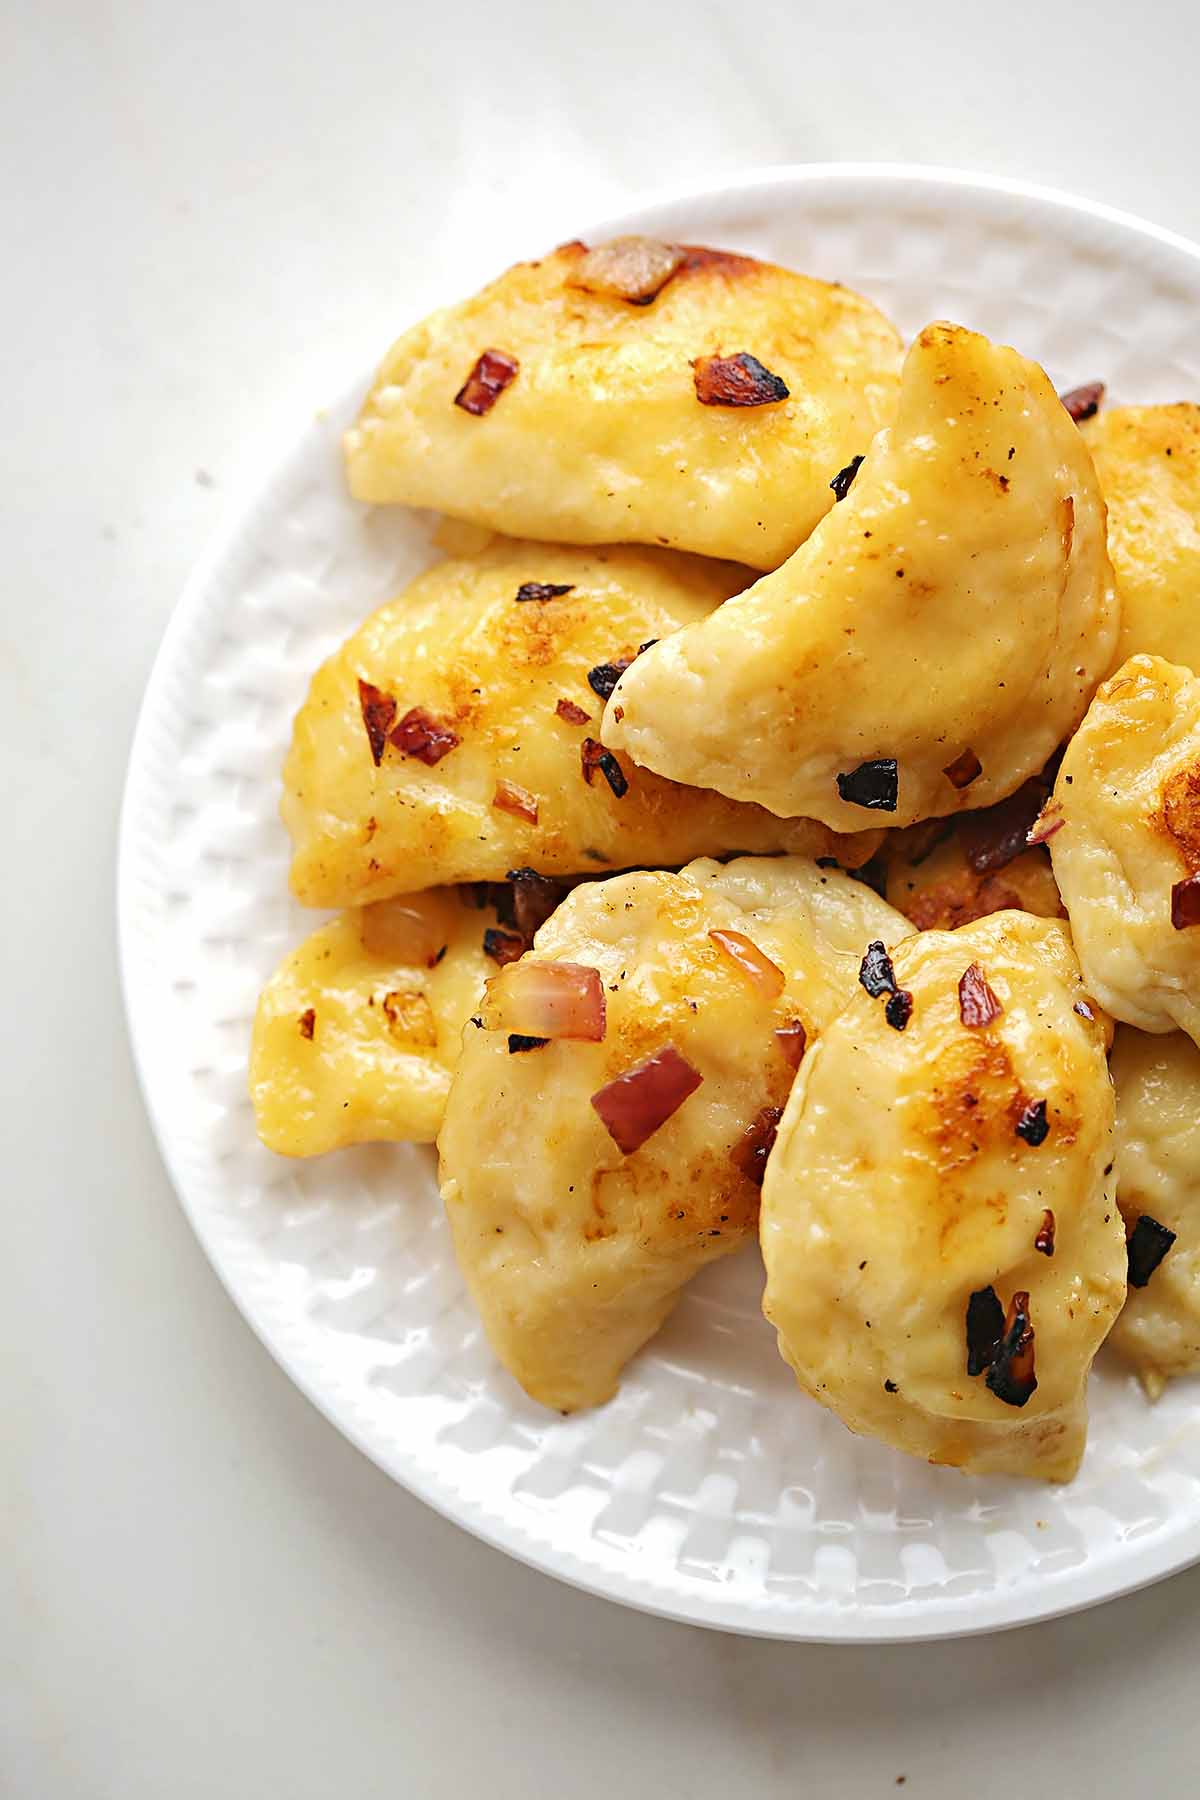
These Vareniki or Russian pierogies are the ultimate comfort food! What is not to love about these stuffed dumplings? They are filled with mashed potatoes and cheese, fried with sweet onions to pure perfection, and topped with sour cream.
Vareniki or pierogi are filled pasta dumplings of European origin. The word pierogi is the Polish word to have been borrowed into English.
They consist of a filling enclosed in a dough envelope and can be savory or sweet. They are typically round with pleated edges and are about 10 cm in diameter. These dumplings may be boiled, baked, or fried.
These Russian vareniki are a very common food consumed often due to their simplicity and budget-friendly ingredients. In this recipe, we are making a potato version of these dumplings.
Recipe Features
These potato and cheese pierogi are made with simple ingredients most likely you already have on hand.
They taste better than the store-bought version, plus you can adjust the recipe and choose the filling that suits your taste better.
This is a great recipe for a freezer meal to make ahead. Vareniki freeze really well and are great for cooking from frozen.
How to make Vareniki dough
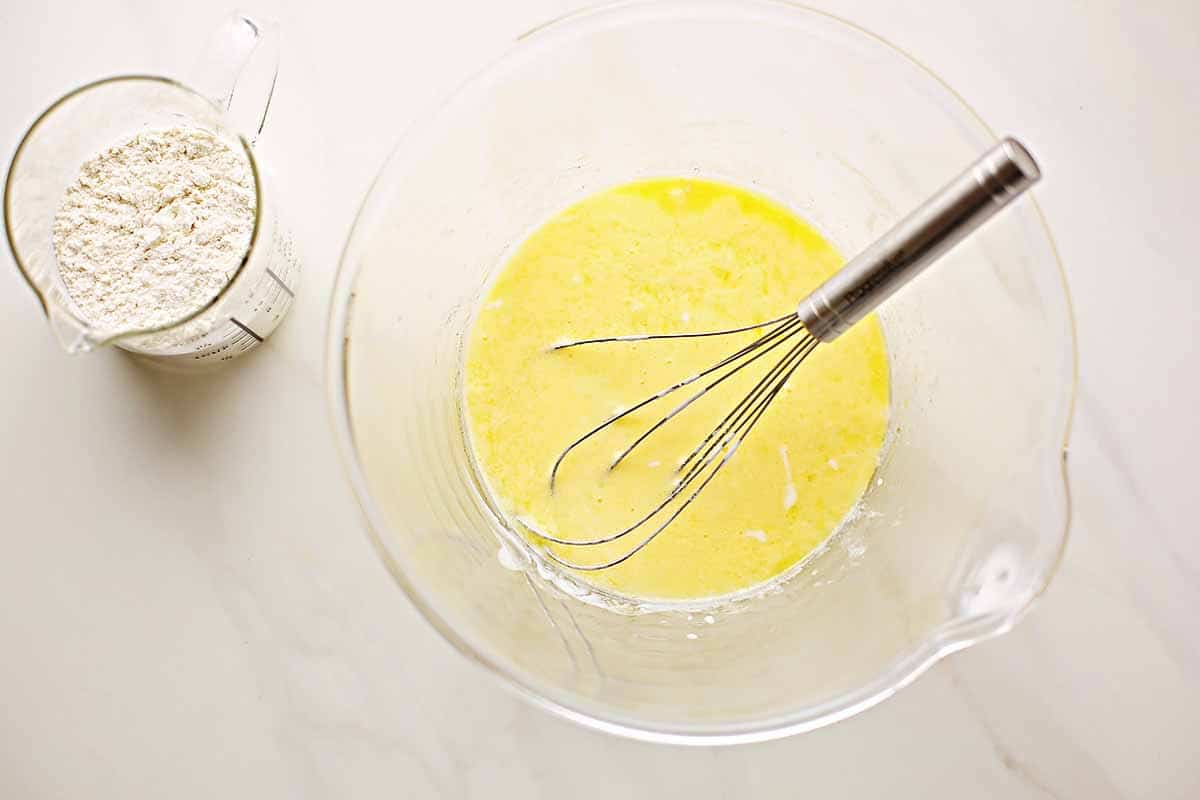
Step 1. In a large bowl, whisk the eggs, add kefir, olive oil, and salt. Start adding flour till the dough is smooth.
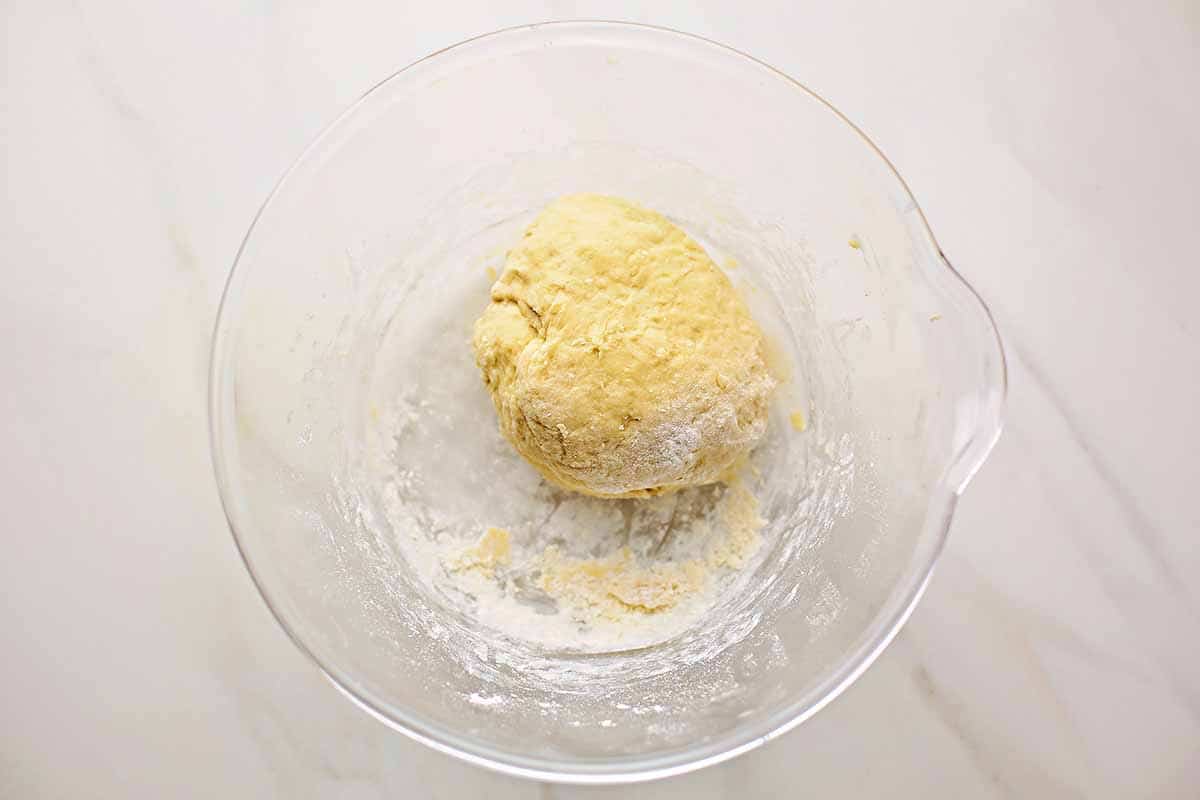
Step 2. On a lightly floured surface, knead dough with your hands for about 10 minutes till it resembles soft playdough. Let dough rest for 10 minutes, wrapped in the plastic wrap.
Please note this pierogi dough recipe is supposed to be soft without being sticky. You can also use a stand mixer to make the dough.
How to make the vareniki filling
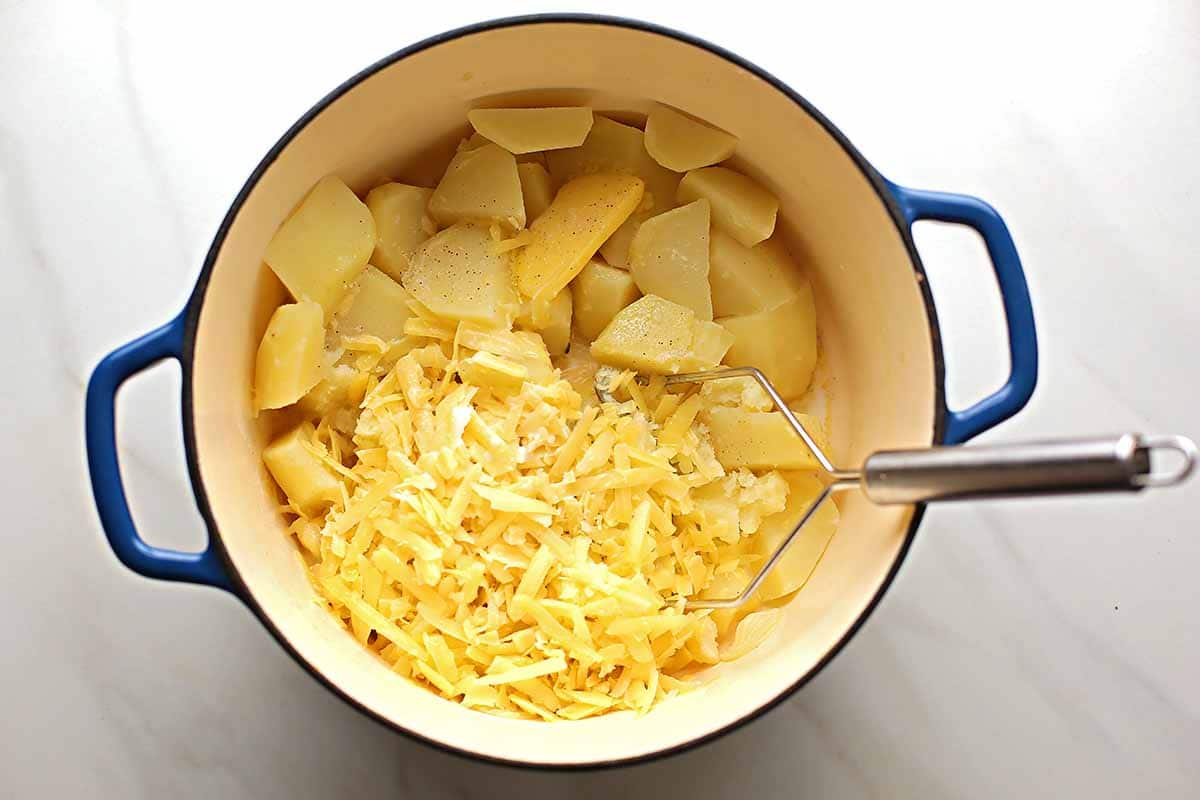
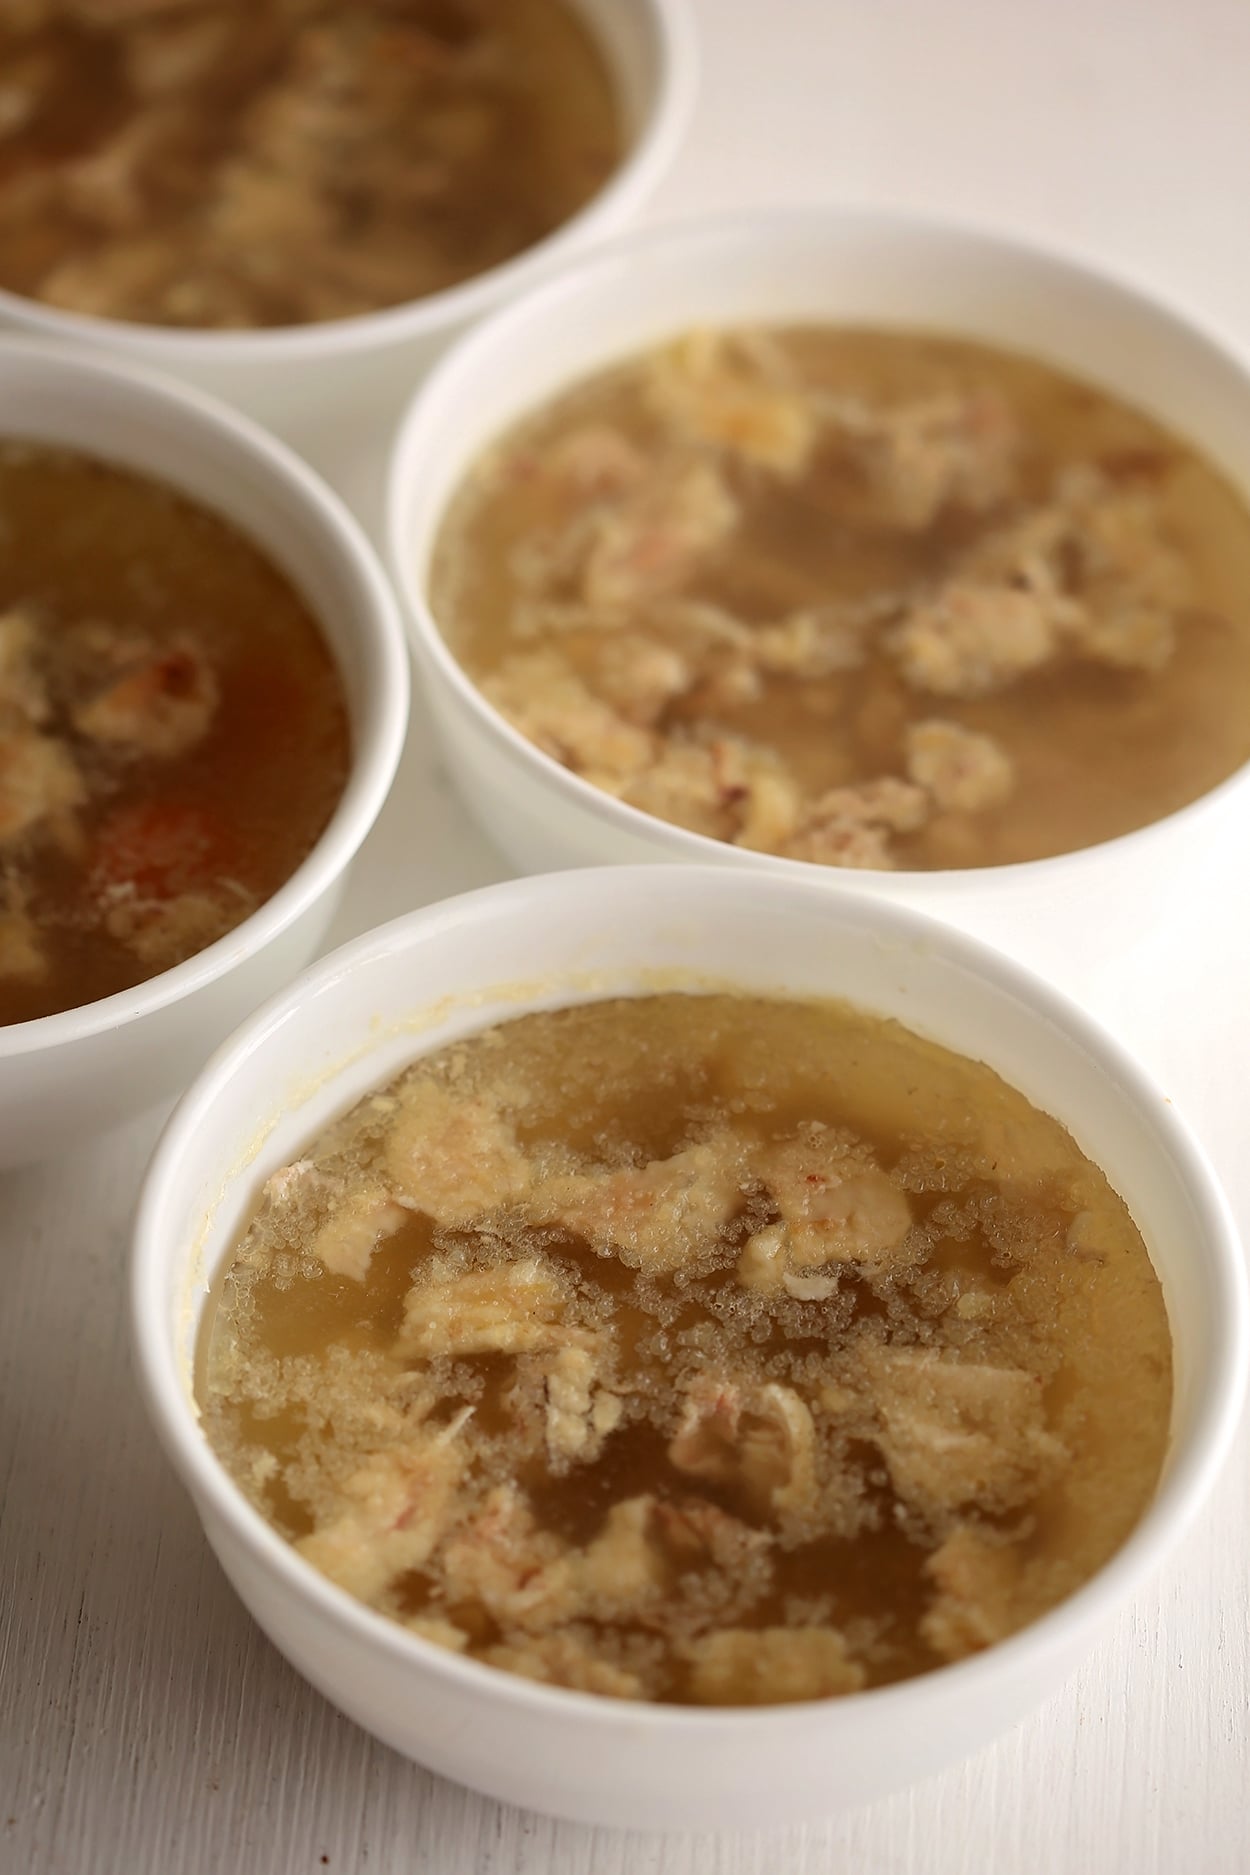
Boil potatoes in a pot of water. Wash, peel, slice potatoes into large cubes. Place in the pot, fill with water, and boil till easily pierced. Don’t overcook.
When the potatoes are soft enough, drain cooked potatoes, add butter, salt, and cheese to the pot. Use a potato masher to mash them really well.
Please note the vareniki filling should be thick and not too soft.
How to make homemade vareniki
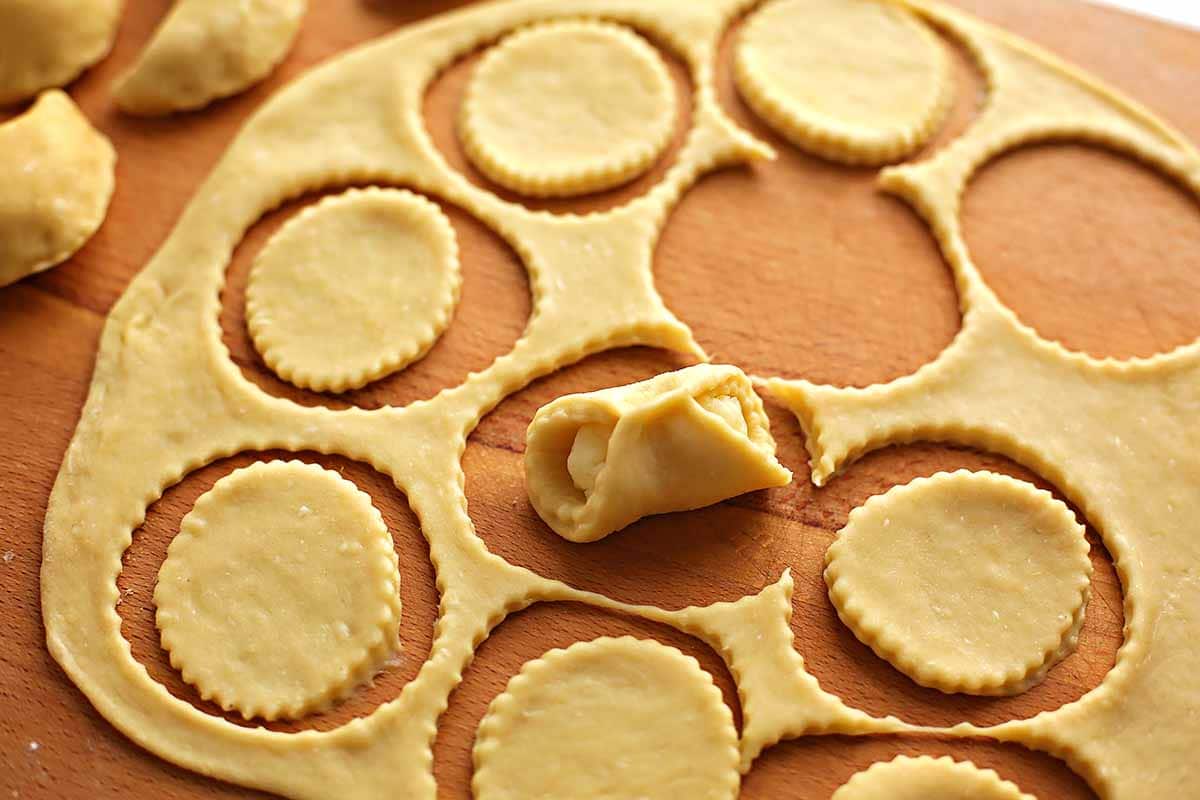
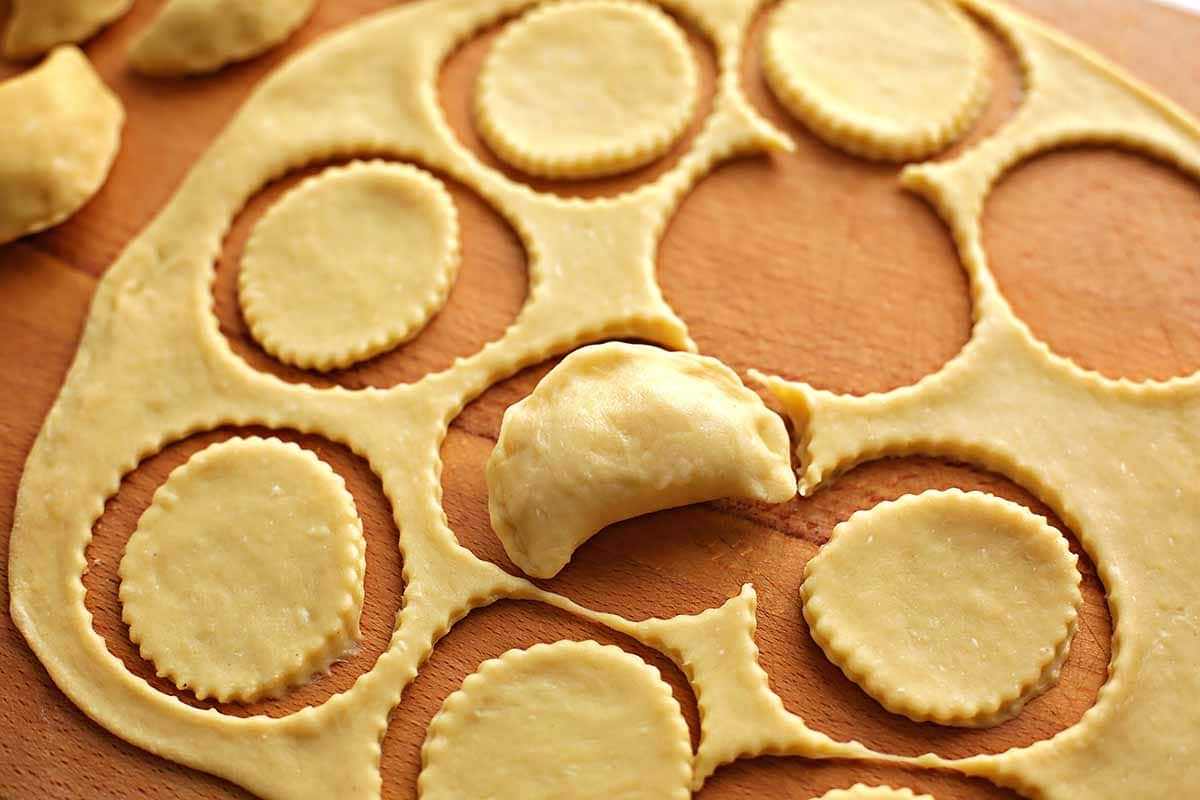
There are many ways to shape vareniki, but the most popular is to use a round cutter. Using a rolling pin, roll out the dough on a floured surface. Cut out circles with a biscuit cutter or drinking glass. Place a teaspoon of potato filling in the center of each dough circle.
Fold the dough over the filling to form a half-moon. Pinch the edges together to seal.
Pinch from both sides.
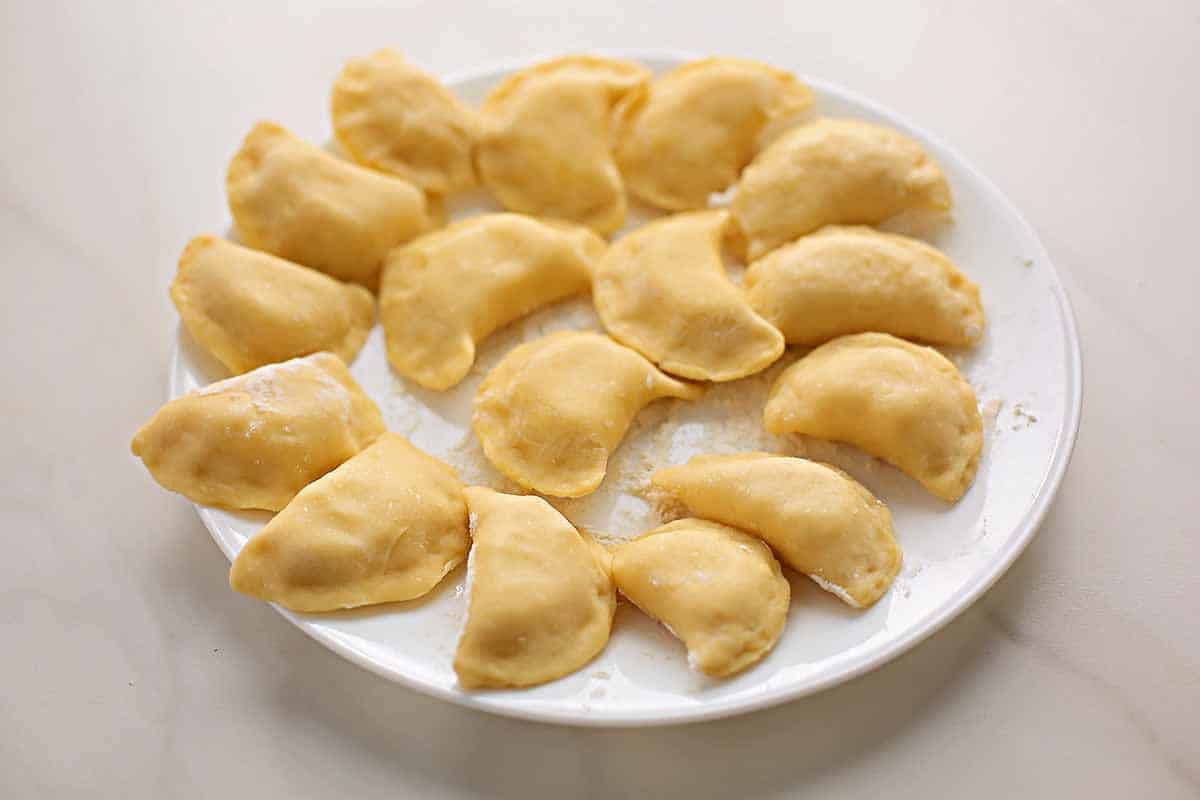
Finish making all vareniki till you use all the leftover dough.
Lay them on the flat surface with some flour while you finish making the rest of the dumplings.
How to cook vareniki
Fill a large pot with cold water, bring to boil, add salt. Once boiling, carefully add filled vareniki to the salted water, reduce to medium heat. Once floating cook in boiling water for 2 minutes. Remove them from the pot with a slotted spoon or strainer. Cook in parts, not all at the same time.
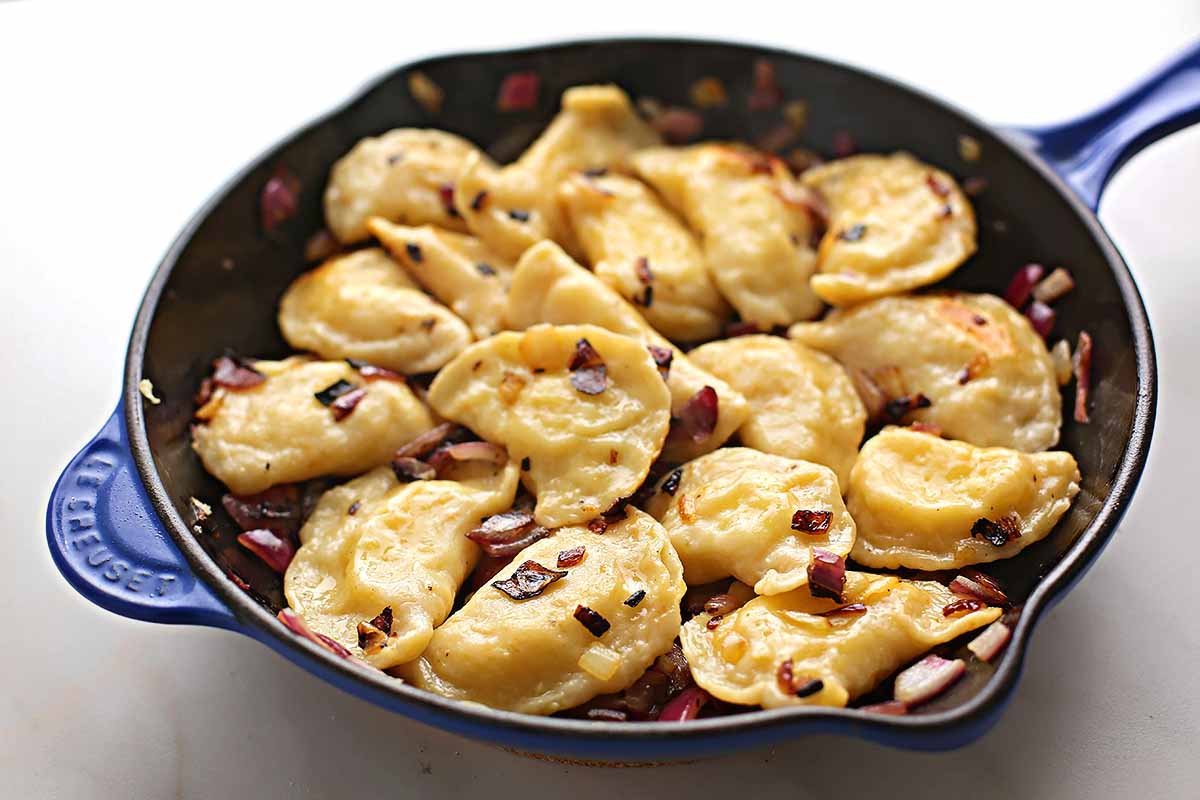
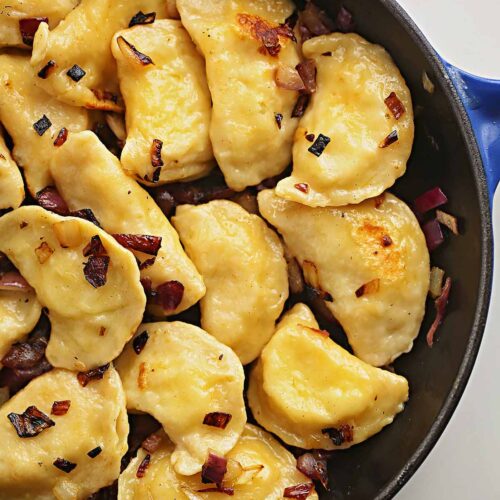
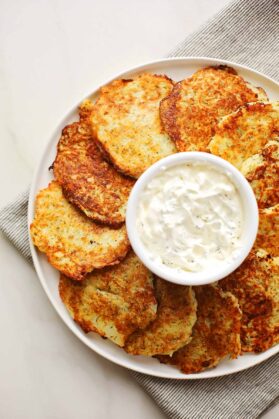
Pan Fry (optional step). Heat cast-iron skillet on medium-high heat, once heated add ghee, and fry diced onions till golden, remove caramelized onions, and set aside for now. Add vareniki to the hot frying pan, let them get crispy on one side before turning them over. Fry the vareniki in hot oil until they are golden brown. Once all vareniki are fried, top with fried onions.
Serve immediately with melted butter, sour cream, or yogurt. Garnish with fresh herbs if desired.
Helpful Tips for making vareniki
I used unbleached white flour by Bob’s Red Mill to make pasta dough; any kind of all-purpose flour will work just fine.
When making the dough, shake kefir well before adding to the egg mixture.
Allow vareniki’s dough to rest for 10 minutes; it makes the dough easier to work with after.
The vareniki filling should be thick and not too soft.
Taste the potato filling to ensure it has plenty of salt and pepper.
Roll thin rounds, approximately 1/8 inch thickness, and 2 inches in diameter.
When making the dough, make sure not to add too much flour. Also, use flour sparingly when rolling out the rounds to make sure the dough is still sticky and you can pinch the edges easily.
When boiling or frying, cook in parts. Adding too many vareniki may overcrowd the pan and make them fall apart.
Once floating in the boring water, cook for about 2 minutes only.
For frying use a larger non-stick or well-seasoned cast-iron skillet.
Once cooked, always add butter; this way will hold shape better and won’t get stuck.
How to serve vareniki
One of the best things about these dumplings filled with potatoes is that they are so versatile! They can be served with just about anything. Some of my favorite ways to serve them are with browned onions, sour cream mixed with herbs, gravy, and fried mushrooms, simple cheese sauce, chives, bacon bits, hamburger, melted butter, yogurt, hot sauce.
Vareniki filling variations
There are many different variations that you can fill your homemade vareniki with. You can also get creative and come up with your own unique filling combinations. Some of the vareniki fillings combinations include: fried mushrooms, ground meat, sauerkraut or cabbage, spinach and feta, farmers’ cheese or dry cottage cheese, ground beef, mashed potatoes and ground liver.
There are also many sweet versions of vareniki that worth tasting: cherry pierogi, sweet cheese pierogi, blueberry vareniki, sweet potato-filled pierogies.
Freezing Vareniki
When you are making the vareniki, you can make a big batch and freeze them for later. They freeze really well. You can either freeze these Russian pierogi before they are cooked or after they are fried. If you freeze them raw, you’ll need to cook them before serving.
To freeze them raw, place them in a single layer on a baking sheet and freeze for 2-3 hours. Once they are frozen, you can place frozen vareniki in a large Ziploc bag; ensure it’s a freezer-safe bag.
To freeze them cooked, wait until they are completely cool and then place them in a freezer-safe container.
Make sure to label the container with the date so you can keep track of how long they have been in the freezer. You can store them in the freezer for up to 3 months.
FREQUENTLY ASKED QUESTIONS
What are pierogi?
Pierogi are a type of dumpling that is popular in Central and Eastern Europe. They are made from unleavened dough and filled with various fillings, such as potatoes, cheese, sauerkraut, ground meat, or fruit.
How do you make vareniki?
There are many different ways to make vareniki. The most common way is to fill the dough with a potato and cheese mixture, fold it into a half-moon shape, boil and fry it in butter or oil until golden brown.
Pierogi vs Vareniki
Pierogies and vareniki are the same dishes. Pierogi are typically thought of as Polish dumplings. Varenyky is what pierogi is called in Ukraine or Russia.
These Vareniki or Russian pierogi are the ultimate comfort food! What is not to love about these stuffed dumplings? They are filled with mashed potatoes and cheese, fried with sweet onions to pure perfection, and topped with sour cream.
2cupunbleached white flour (plus 4 tbsp or more till no longer sticky)
For the Filling
3Russet potatoessmall-medium
1/2cupshredded cheesechedddar
1tbspbutter
1/4cupmilk
1/2tspsalt
For Frying
2tbspghee
1Vidalia sweet onionlarge-sized
For Serving
sour cream or yogurt
fresh dillchopped, optional
Instructions
Make pierogi dough. Whisk eggs, kefir, oil, start gradually adding flour, knead the dough by hand, keep adding flour till no longer sticky. Wrap in plastic wrap and let it rest for at least 10 minutes.
Make potato filling. Wash, peel, slice potatoes into large cubes. Place in the pot, fill with water, and boil till easily pierced. Don't overcook. Once cooked, drain, add the rest of the ingredients for the filling, mash so the texture is thick.
Make pierogi. Roll out the dough, using a cookie-cutter make several 1/8-in.-thick round shape circles. Place a teaspoon of potato filling on the center of each circle. Bring the opposite ends and pinch the dough in the middle, continue pinching from the middle to end, both sides, slightly press in your hands to make a flatter shape.
Cook pierogi. Fill a large pot with cold water, bring to boil. Once boiling, carefully adds pierogi, reduce to medium, once floating boil for 2 minutes. Remove them from the pot with a slotted spoon or strainer. Cook in parts, not all at the same time.
Fry (optional step). Heat cast-iron skillet on medium-high heat, once heated add ghee, and fry diced onions till golden, remove onions and set aside for now. Add pierogies, let them get crispy on one side before turning them over. Fry the pierogies in hot oil until they are golden brown. Once all pierogies are fried, top with fried onions.
Serve. Serve immediately with melted butter, sour cream, or yogurt.
Notes
This recipe makes 25 large-sized pierogies, nutrition is approximate and calculated for 1 pierogi. I used unbleached white flour by Bob’s Red Mill to make pasta dough; any kind of all-purpose flour will work just fine.When making the dough, shake kefir well before adding to the egg mixture.Allow vareniki’s dough to rest for 10 minutes; it makes the dough easier to work with after.The vareniki filling should be thick and not too soft.Taste the potato filling to ensure it has plenty of salt and pepper.Roll thin rounds, approximately 1/8 inch thickness, and 2 inches in diameter.When making the dough, make sure not to add too much flour. Also, use flour sparingly when rolling out the rounds to make sure the dough is still sticky and you can pinch the edges easily.When boiling or frying, cook in parts. Adding too many vareniki may overcrowd the pan and make them fall apart.Once floating in the boring water, cook for about 2 minutes only.For frying use a larger non-stick or well-seasoned cast-iron skillet.Once cooked, always add butter; this way will hold shape better and won’t get stuck.
Natalia is a recipe developer, food photographer, and home cook. She started Flavorful Home to document her recipes and share home cooking tips. She loves creating flavorful and nutritious meals while keeping the cooking process simple and joyful!
Hi there, I’m Natalia. I’m so glad you stopped by! Here you’ll find the most useful cooking tips and answers to food questions. I focus on creating simple recipes and making sure they are extra flavorful and worthy of your time! Browse our step-by-step recipes and explore new flavors!


Your dough recipe calls for “1/2 kefir room-temperature”. What unit is this expressed in?